

Today I wanted to share with you a couple things I implemented into my Lightroom editing workflow that have helped me to edit faster! Being able to save your own presets (or use purchased ones) is a much faster way to edit! It gives you a starting place for each edit and when you apply this preset upon import it takes out a step!
How To Create Your Own Preset
Creating your own preset is essential to editing consistently and quickly! You can even make a preset using a purchased preset. If you find you love using a purchased preset, but are constantly making the same changes to your highlights, color, or other things, you can create your own custom preset to get you to your starting point faster! It’s super easy and fast to create your own preset, just follow these 2 steps below!
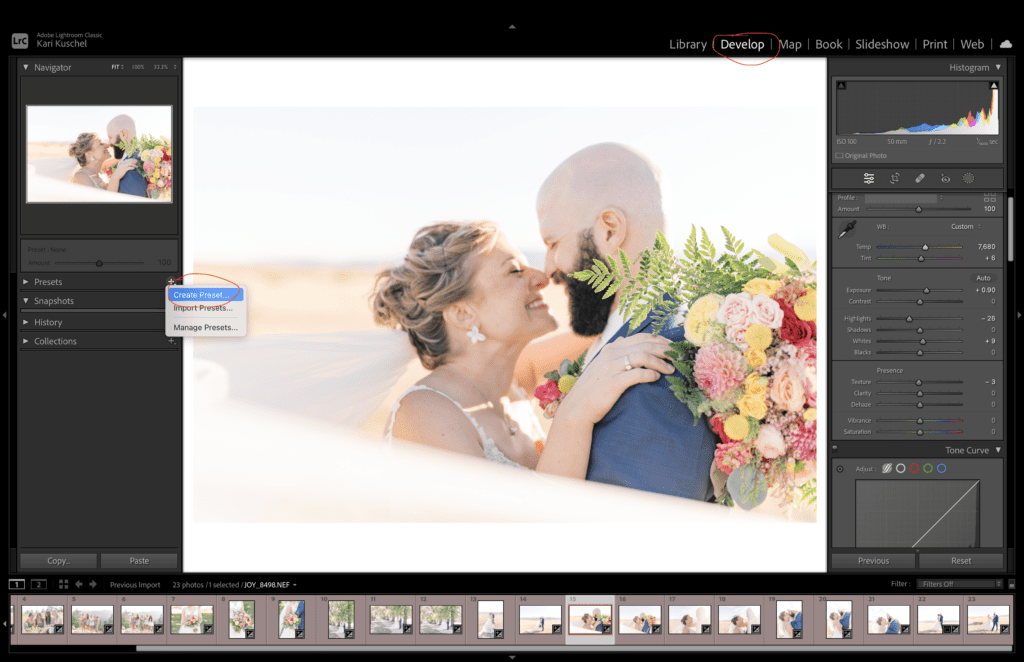
- Open Lightroom and make the custom edits to your photo that you want to turn into a preset. Make sure you are on the develop tab and that the photo you want to make a preset of is selected. In the left hand column find “Presets” and click the + sign. It will give you an option to “Create Preset”
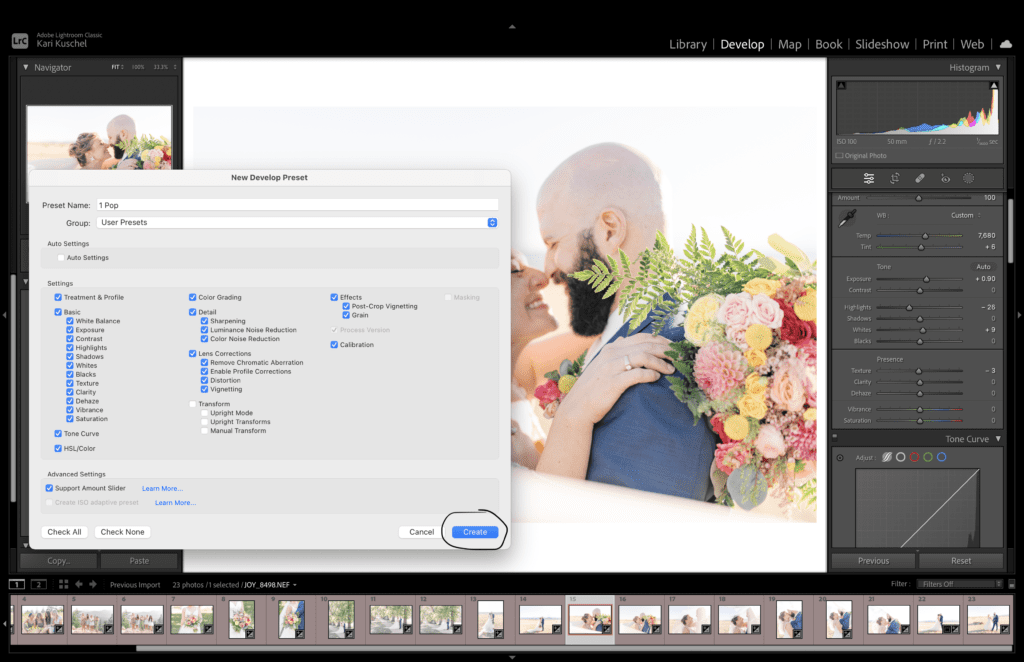
2. A window will pop up for you to select which settings you want to copy over to create your preset. I like to select everything EXCEPT the options under “Transform”. Once you’ve checked all the boxes you want for your preset AND you’ve names your preset, just click “Create” You’re all set!
Apply A Preset To Your Images On Import In Lightroom
This is one of my favorite features in Lightroom (I know….I know… I say that a lot!!) What I love about this feature is that you can set it and forget it! This will apply any preset you choose to your images on import. It makes editing faster because you skip the step of having to apply a preset and gives you a great starting point for your images.
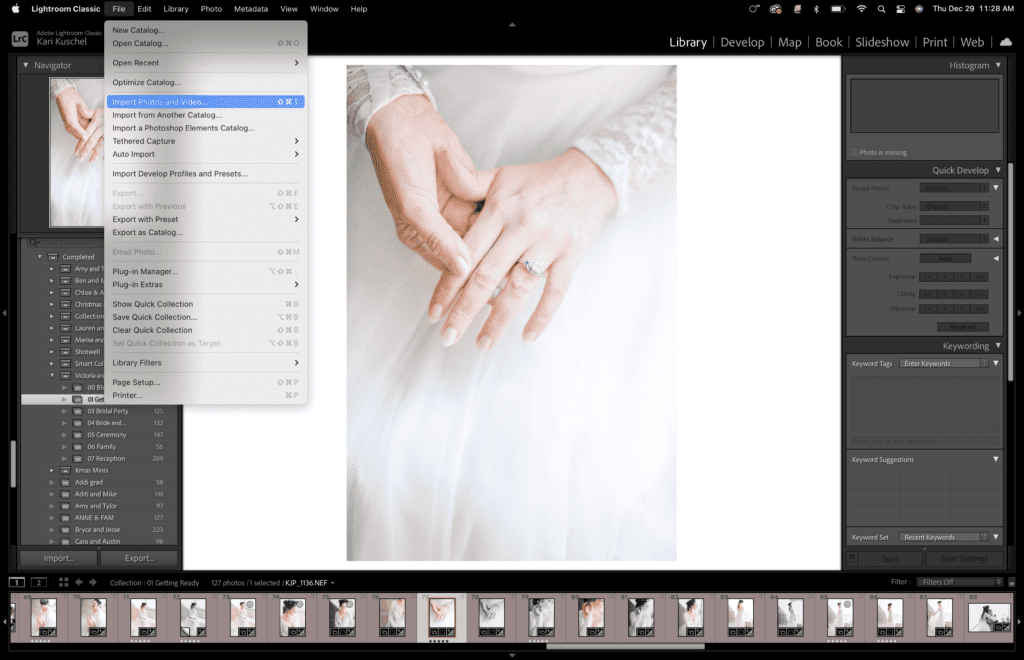
- Open up Lightroom -> File -> Import Photo and Video.
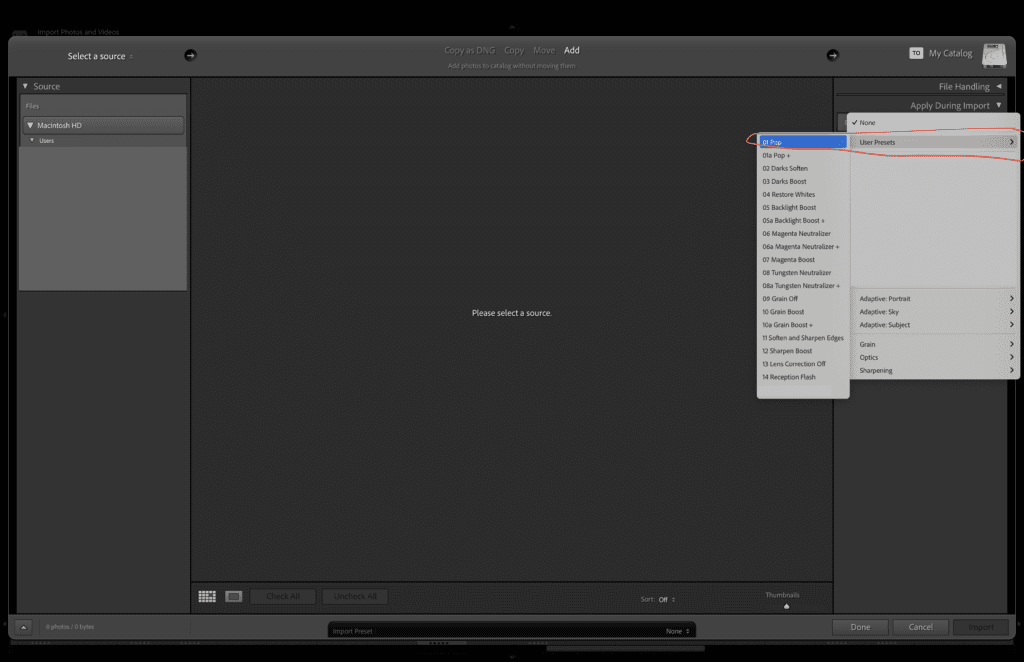
2. On the right hand side click on “Apply During Import”
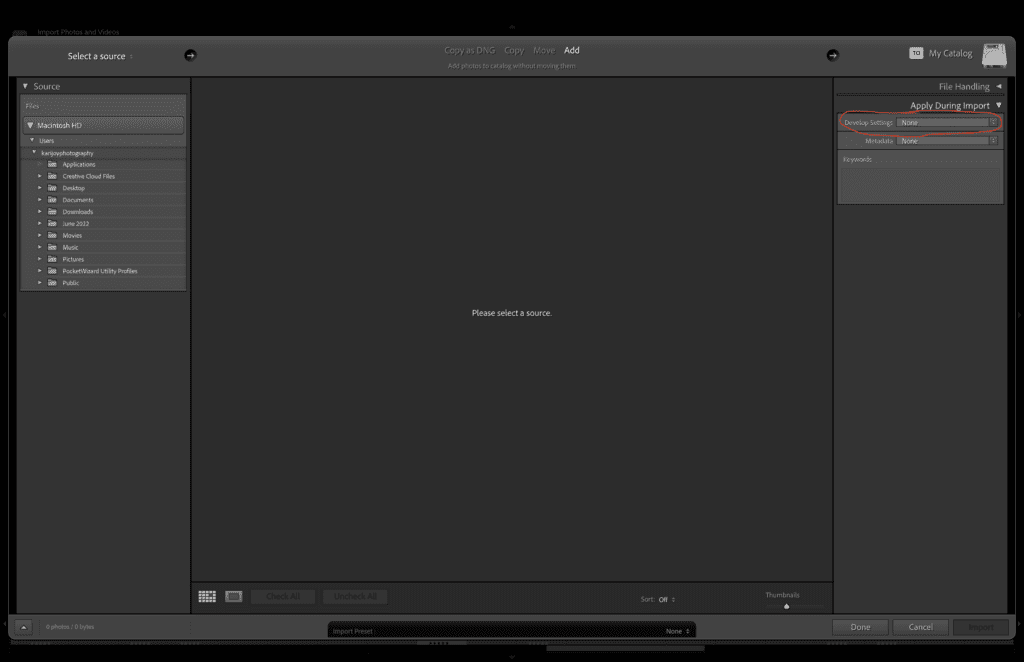
3. Select The Preset You Want On Import
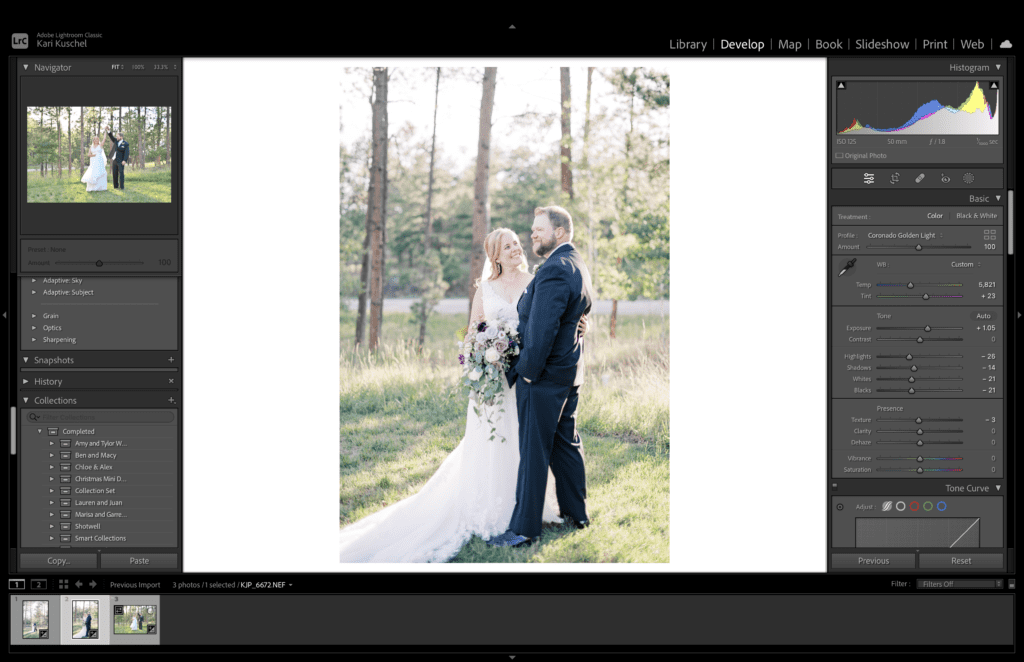
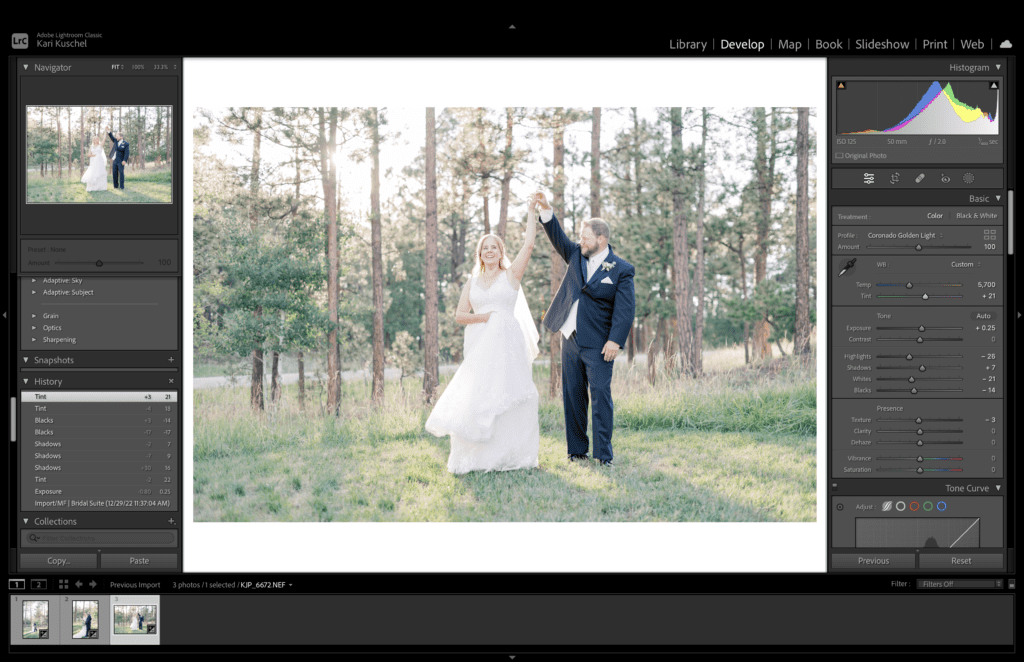
Once you select a photo the preset will be applied. Sometimes you’ll see the preset hasn’t been applied to other images yet (if you hover over the thumbnail) Once you select the next image the preset will be automatically applied!
I hope you found this helpful and that it enables you to edit faster and more efficiently! I’ve implemented these small tricks years ago and I’m grateful for how much time they have saved me AND how it’s helped me to edit my images more consistently!


comments